




Dead valley question
« Back To Roofers Talk
seen-it-all
If you use drywall to finish the light tunnel, use the high humidity stuff that they use in bathrooms.

clvr83
Good idea! I've never done something like that, but it sounds like a much better long term option than putting mod bit in this.

Lefty1
Run the roof thru and close off the window. Put the skylight above the kitchen. No need to use the existing window.
egg
I've got a stained glass window that was facing extinction when I added a room next to it. Put a skylight in the attic to illuminate it which doubles as a light in the attic. Works just fine.
Framing in the hole on this roof looks to be perfectly workable, but you will have to complete the missing sidewall when you do that and you're not eliminating the cricket, just moving it uphill. Looks like you will need to cut the span in half by raising the center and sending the water both ways with a half-saddle at each end. If that vent turns out to be necessary, it has to go uphill also. Is that thing for the kitchen hood?
clvr83
egg: I can only send water to the right, the left hits a wall. I'll widen it a little, but it's still going to be close to dead. It will be a much better scenario though, that's for sure.

GSD
If it was my customer, I would tear everything out, lay down new OSB and then adhere EPDM on the roof and up every wall, remove the windows caulk the hole and install the windows back in. making the whole area waterproof.

wywoody
Despite its ugliness, the existing probably would have worked if the details up roof of it had been done correctly. It looks like the gutter used was a 10' off-the-shelf HD, when an 11.5' piece ran from a gutter machine was needed. The gap on the left side allows for substantial drip-and-splash. Don't underestimate how much splashing water changes the dynamics of leak detection.
Also exasperating the situation is there is no overhang on the gable and bevel siding ran diagonally, channeling far too much water to the mastic smear below. If you retain the present setup, add a facia board on that short gable that is wider than the siding thickness and put the bevel siding on level instead of matching the existing diagonal.
clvr83
Lefty: I like that but we don't do interior and I'd have to sub it out. I'm going to run a few options by the homeowner, including this. I imagine he will go with whatever is cheapest but who knows.
GSD: There isn't much to go wrong there, as long as I put a transition anchor at the valley. I've seen too many of them pull away in the valley, so I still shy against that.
Woody: Good eye. The gutter might have been better if the outlet was closer to the end, allowing the gutter to be over further.
I should of take another picture when I was there. Directly to the left of where I'm standing, there is a little low slope saddle that connects these two roofs, dumping water right in to this nasty spot.
GSD
clvr83, so you're saying if the EPDM Is done correctly, it will probably work?
If you put the strip on the outside of the EDPM and not under it, and cover it with a cover tape instead of flashing, it will last a long time, at least till the shingles need to be redone.
clvr83
Yes, I think that would work. I'm not sure of the longevity, but putting a termination bar in the valley would keep it there. I was thinking the SelfAdhesive hidden RTA strips, but your way surely wouldn't pull out. I wouldn't try that unless I had a guy in the business for a long time say its worked well for him. So there ya go :)
Basically, what this boils down to is that I want a long term solution, but I've not done many of these with different products. Just trying to get a little better every day.
bdub
Hey bro to get back to your question....
Yes that can be done in copper and with no caulking and no solder! Copper would by far be the most long term solution and its proven so no guesswork.
wywoody
By far, the most common flashing used in my area is painted steel. I regularly work on 30-40 year-old roofs and never see valley metal rusted out. I replace valley metal often, but it's to use a different type that resists damming and not because the old metal rusted through. Copper use around here is a bling thing, more for the owner's ego than for increased longevity.
Although it's been more than 15 years since I've done it, I have installed at least a dozen crickets and pans with painted steel (which of course can't be soldered) with more than one piece. They all had 10" or more lap and were sealed on the upper edge of the lower piece with a caulking that would stay flexible. I never have had a callback on any of those
bdub
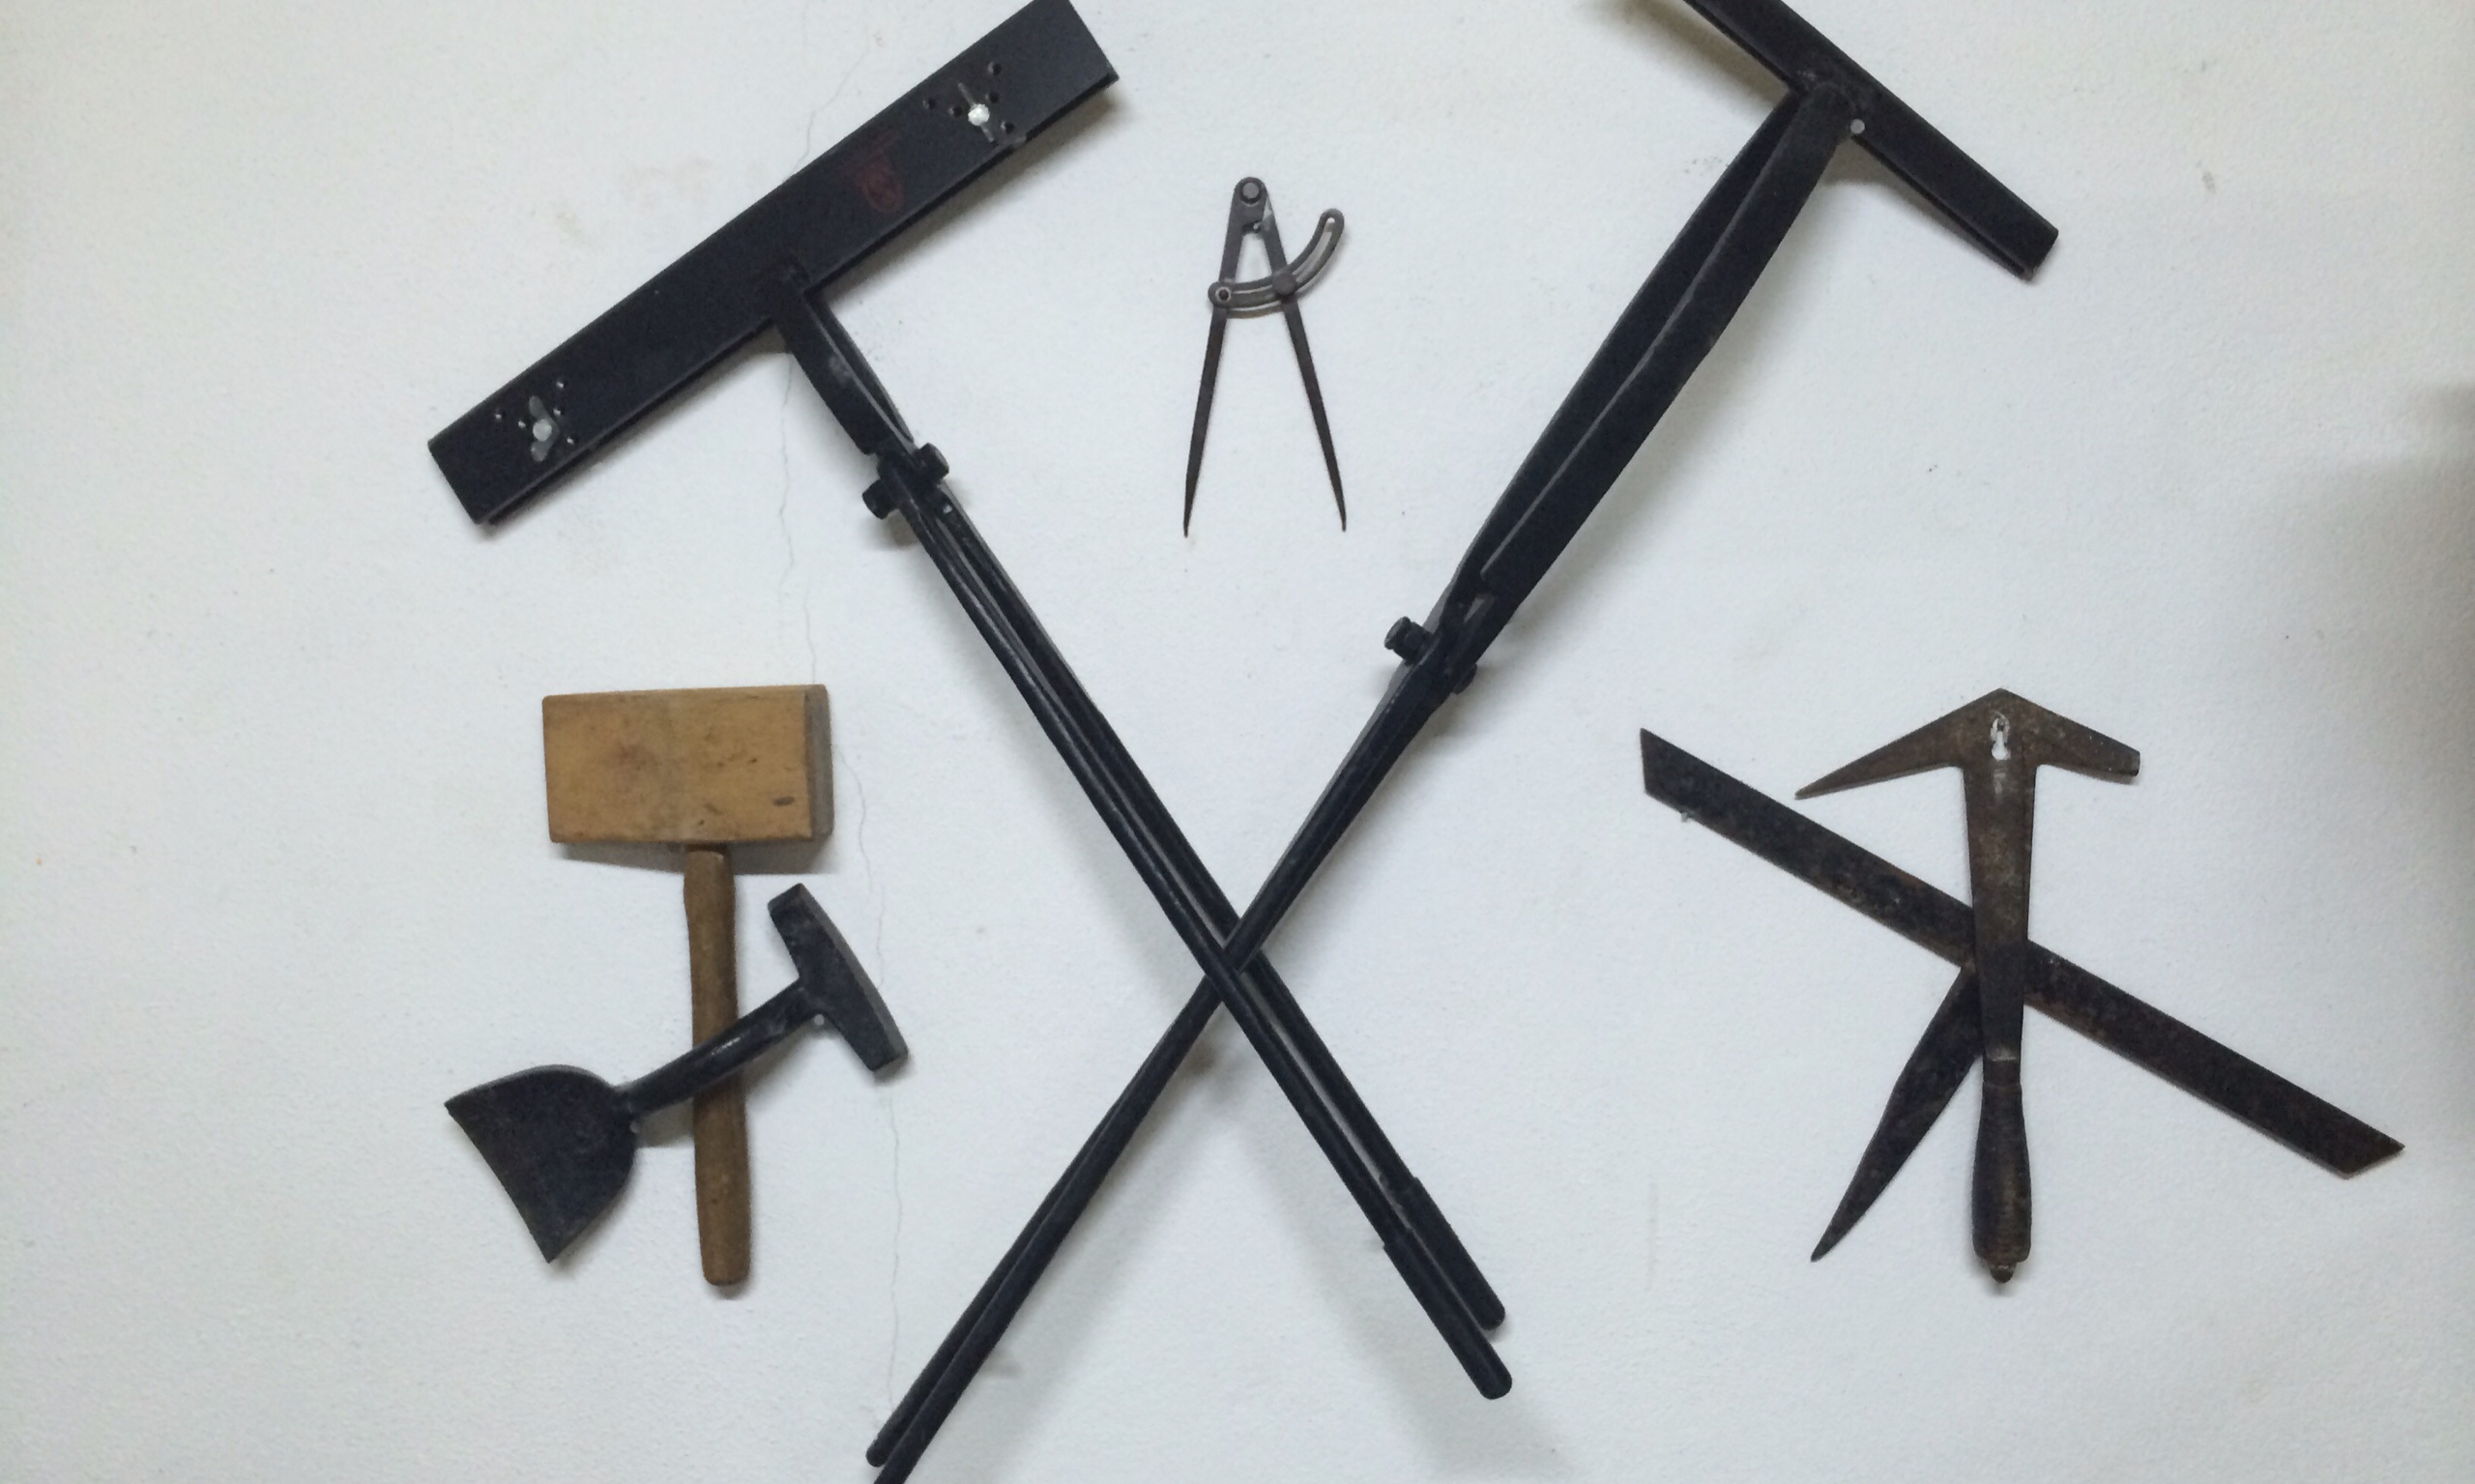
Wether its steel or brass, the proper technique remains the same. Patterns, pocket folds, fillet seams, hand tools.
As with fishing, there are specific knots for specific materials. Your typical hitch will cut through itself at around 20lbs. So no matter what the weight of your line, you have 20lbs of strength with that knot. Works fine for small things. When you get into heavier fishing, requiring more strength, more complex knots are needed. An insufficient knot on a heavy line is a complete waste just as a complex knot on a small line. A boater/fisherman should have several knots in their tool box to accommodate multiple conditions.
As this applies to the topic, maybe painted steel caulked together is appropriate. However the seaming technique is the maximum for strength and longevity. When using this technique one is guaranteeing the lifespan of the work to be as long as the material. Copper just happens to have properties which make it easier to seam and will outlast most others.
I recently learned this from someone right here on this forum. All ive been doing is slate, ludowici, hardwood and copper for over a decade. I thought i was the copper guy. What he showed me was completely counterintuitive and honestly hard for me to grasp at first. But once i saw the light, i changed forever. I will never look at sheet metal the same again. I used to be proud of my soldering. I only use hand irons, never ever had a joint fail. Now it makes me cringe even just to think of cutting and soldering anything!!! I was humble enough to learn and it paid off bigtime. Now im so embarrassed at myself for thinking i was any kind of craftsman with copper.
The techniques are simple and require a bag of hand tools, no electricity and once you get the basics, a whole world opens up of what you can do. Funny the guy who taught me had a goal of teaching rather than installing but teaching this to roofers seems to be impossible. People reject simple truths with fierce rage.
Copper is not a bling item whatsoever. It has a perfect place in roofing and that window is one of them. Flash that once, properly and not only have peace of mind but go ahead and put one two even three temporary roofs on around it and leave it. Look at how people scratch their heads now, imagine how much worse in the future?!
Learn seaming, pattern making, you will not regret it. You can still profit from giving the sheep the things they demand but you will use this skill from time to time if you can keep yourself sharp.
tinner666
I see you've been talking to Kurtis. Erno is full of tricks too. I try a blend of what they both teach. Only time i solder is the BIG pans, especially in the bottom cross section. And Fl copper and LLC roofs. Erno, Hans, or one of the teachers even liked my soldered lock seam in a valley with loose locked panels. I was doing all valleys like Erno with DL's seams, but Revere and nearly everybodyspec'ing jobs disagreed, so I went to the lock strip. Go figure.
BTW, Woody, when working steel, I use the SS flat lock spec with a gutter sealer in the back of both folds.
.jpg)
.jpg)
clvr83
Bdub: I will be practicing more folding next winter. Planned on doing it this winter, but didn't make enough time. I figured I could fold copper against the left part, but don't really know how to make it precise. Basically, I'm out of time, so I'll be using 60mil rubber.
I don't have any copper in stock either. Only 24ga Kynar steel, and I'm not sure I could manipulate it that well with my limited experience.
I learned one fold last year that helps me to not cut a step flashing and I've wanted more ever since.
Woody: Interesting, I wouldn't have tried it with flat sheets only w/ sealants, just because my limited experience tells me that might not work. I was thinking I could maybe do a cleat like you would in a snap-loc valley but that eliminates the 10" of headlap(in a way) I started this thread to see what has worked for others, and knowing that could come in handy in the future.

User Access